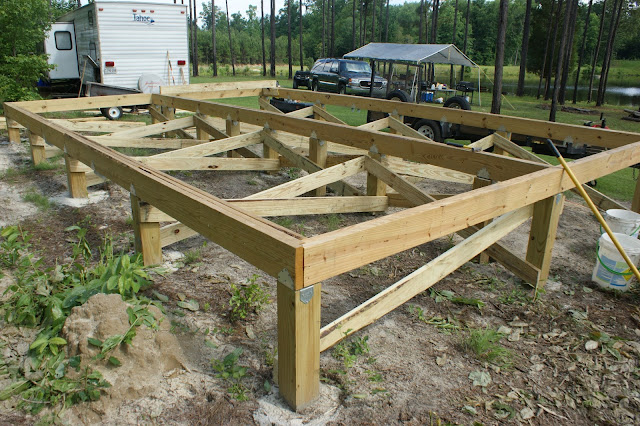
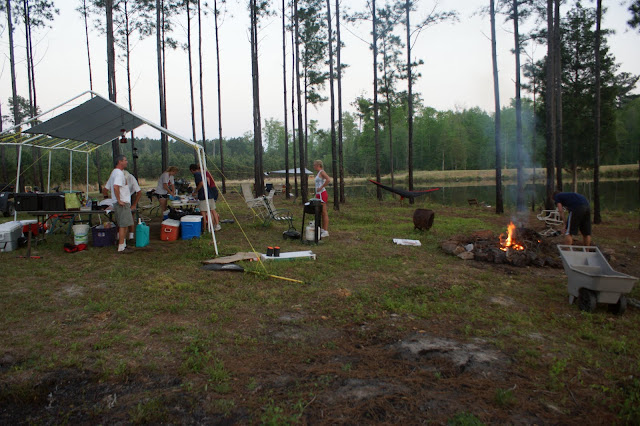
This photo is actually starting my second day at Clearwater. The first day was spent digging the holes for the extra four posts put on the center beam because I added a second floor to the plan and changed how the roof would be supported. Also the first day was spent getting lumber and moving all the dirt that was going to be under the bunkhouse. I wanted the dirt moved so that in the future, when I install insulation and a bottom covering of 1/4" plywood, it would be easier to move around under the bunkhouse.
I schemed the layout of the supports on a piece of paper and was please with how they turned out. Marking them was a pain because I was by myself and had to clamp one end in place then mark both ends. Every support is cut to custom angles so that they are 1" from the top of the post and 1" from the concrete around the post.
It was relatively cool in the morning on the third day and the fog was over the lake. The humidity seemed like it was about 110% and I was covered with sweat by this point. I have the front ledgers in place and starting to install the joists.
All the joists are in place and I even added some extras to help support a center wall separating the two rooms and bathroom walls.
I put several pieces of plywood on top to see how square the frame was and overall fit. Everything looked great.
I was able to get all the plywood installed. I still have many more screws to put in over each joist, but at least I have screws around the perimeter and at the corners of each sheet of plywood.
I decided to have a spot without bracing to allow a place for parking my trail mower under the bunkhouse to keep it out of the rain. Once I figure out how I want to add the deck on the front, I will add another cross brace on the front row of posts so they will also have "X" bracing.
About two hours before the photo above and while I was putting screws in the plywood, I ran a Phillips screw driver bit all the way through my thumb nail and nearly through my thumb. It made finishing screwing down the plywood, packing up and putting the tarp on top a little more difficult.
Lastly, I covered the top to protect the surfaces of the plywood from sun and water damage.


